How to Create an Account on Non-VoIP
To begin your journey and protect your digital privacy, the first step is to create a new account on Non-VoIP.
The registration process is designed to be simple and fast, and requires no complicated steps.
Steps to Create a New Account on Non-voip
- First, go to the official Non-VoIP website. Look for the "Register" button located at the top of the left sidebar and click on it.
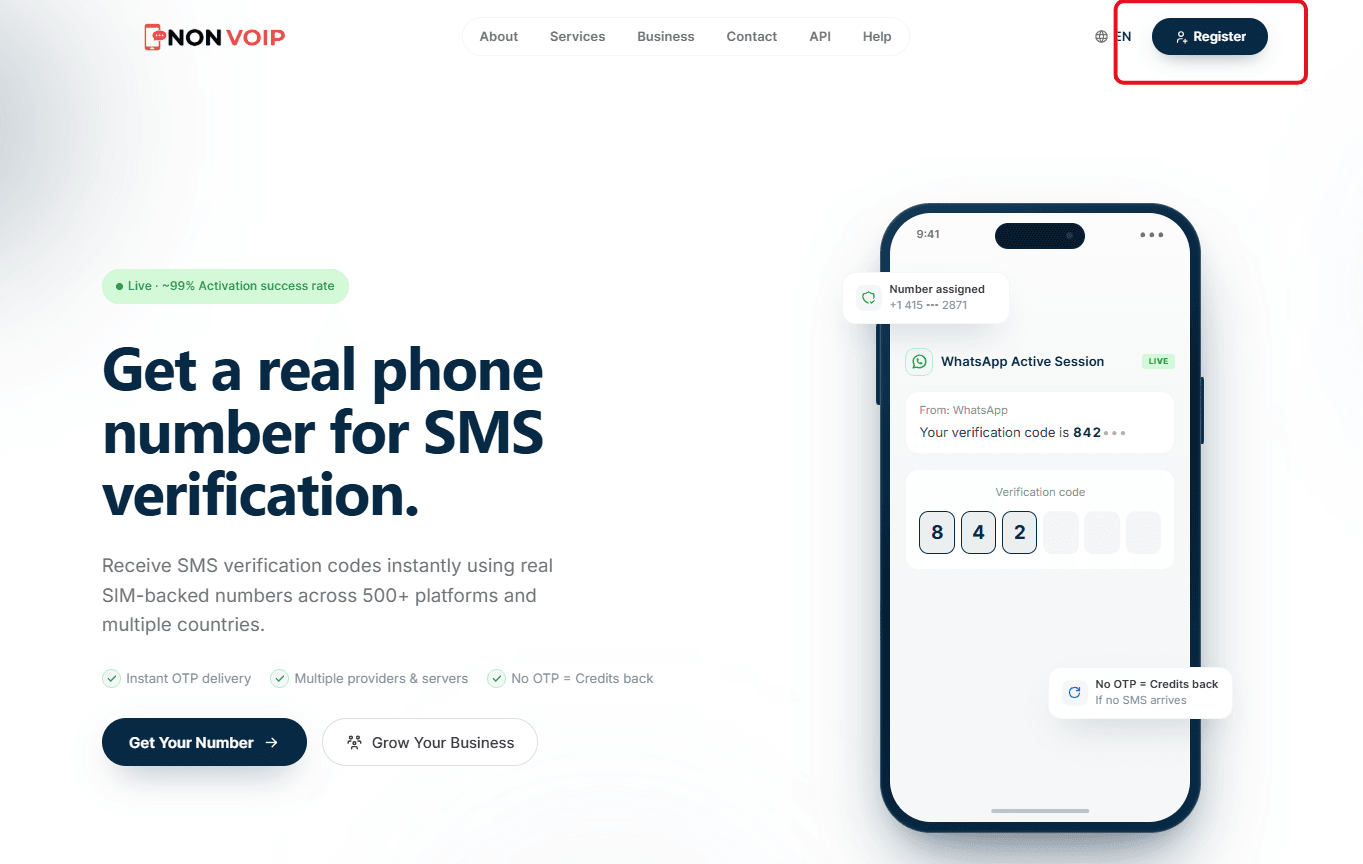
- A new page containing the registration form will appear. Click on "Create account".
Now, you must accurately fill in the required fields:
First Name: Your first name.
Last Name: Your last name.
Email: Your email address.
Referral code: This field is optional. If you received a referral code from a friend, paste it here to instantly receive a 50% discount on your first order.
- Password: A strong password (you will enter it twice for confirmation).
- After ensuring the information is accurate, click the "Create account" button at the bottom of the form.
- You will receive an email containing a confirmation link. Open your email and look for the message from Non-VoIP.
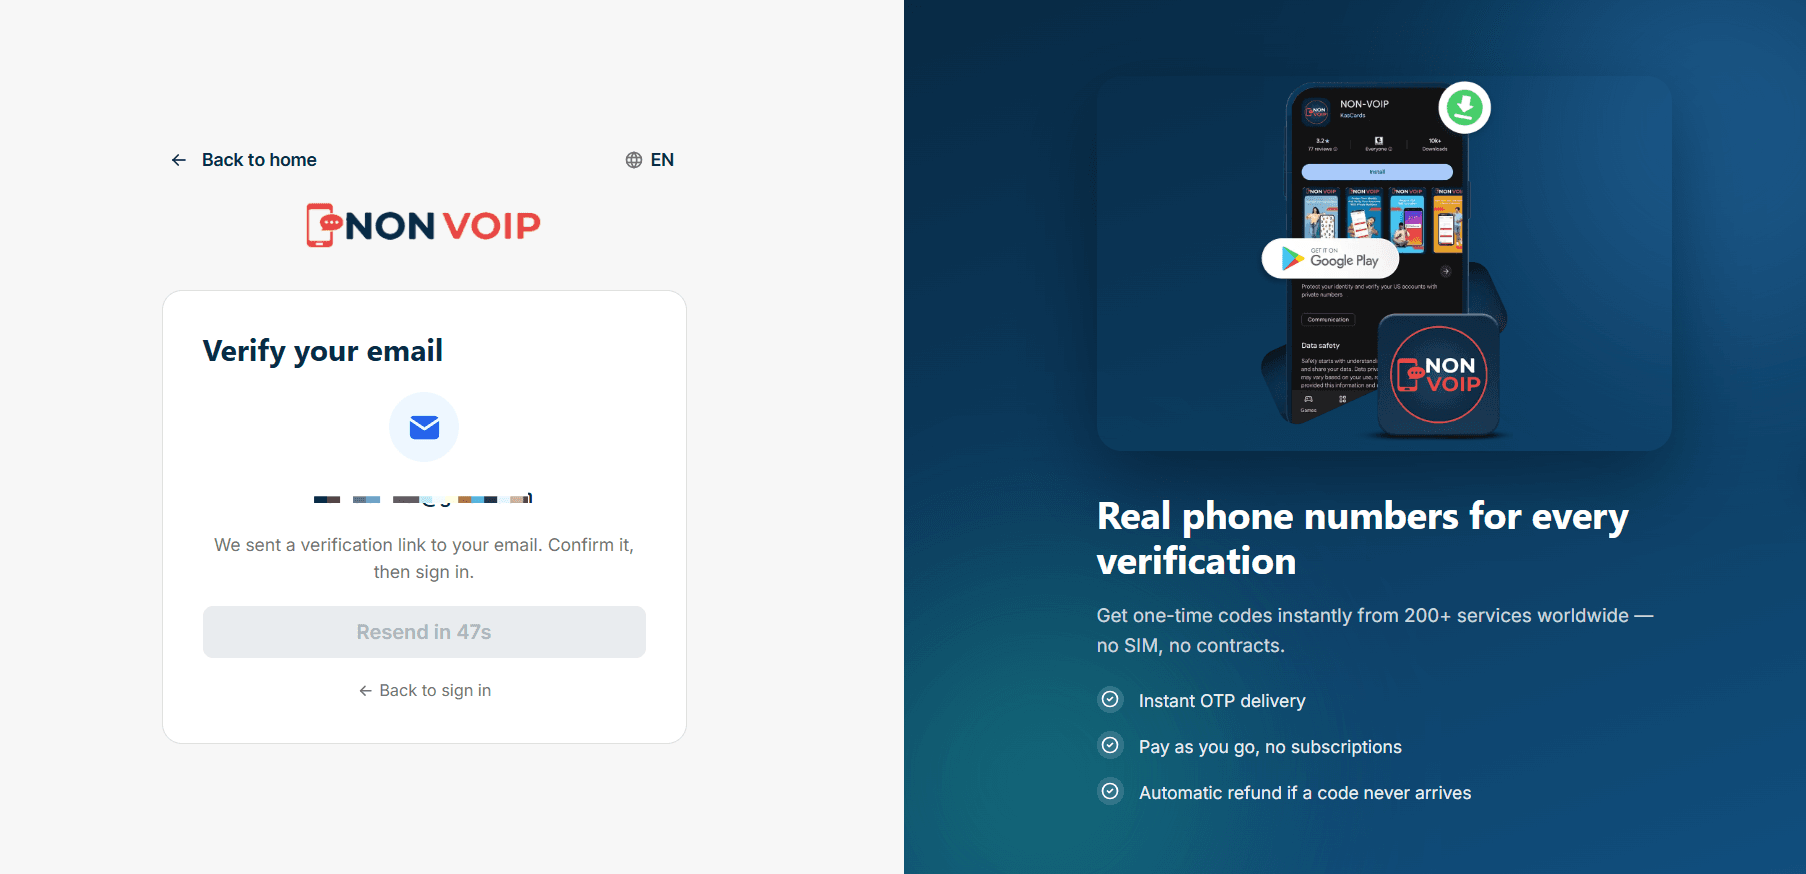
Open the email and click on the attached confirmation link. This step is crucial to verify your email address and activate your account.
Fast Login Options
To make accessing your account easier in the future, the platform provides advanced login options that you can set up from within your dashboard:
1. Connected Accounts:
From your account settings, choose "Sign in with Google" or "Sign in with Telegram".
On your future visits, simply click the "Sign in with Google / Telegram" button on the login page to access your account instantly.
2. Passkeys:
To add a passkey: From your account settings (Passkeys section), click "Add a passkey" and follow your device's instructions to save your biometric data securely.
To use a passkey: On the login page, click "Sign in with a passkey". You will access your account in less than a second with complete security.